Step 5 - Add Products
Search:

Step 1: Getting Started
Visit GoCard.my logged in with your existing account and click on “Dashboard”.

Step 2: Navigate to “GoCards” Tab
Click on “GoCards” to browse all your GoCards created.

Step 3: Editing your GoCard
Click on “Edit” to edit your GoCard content.
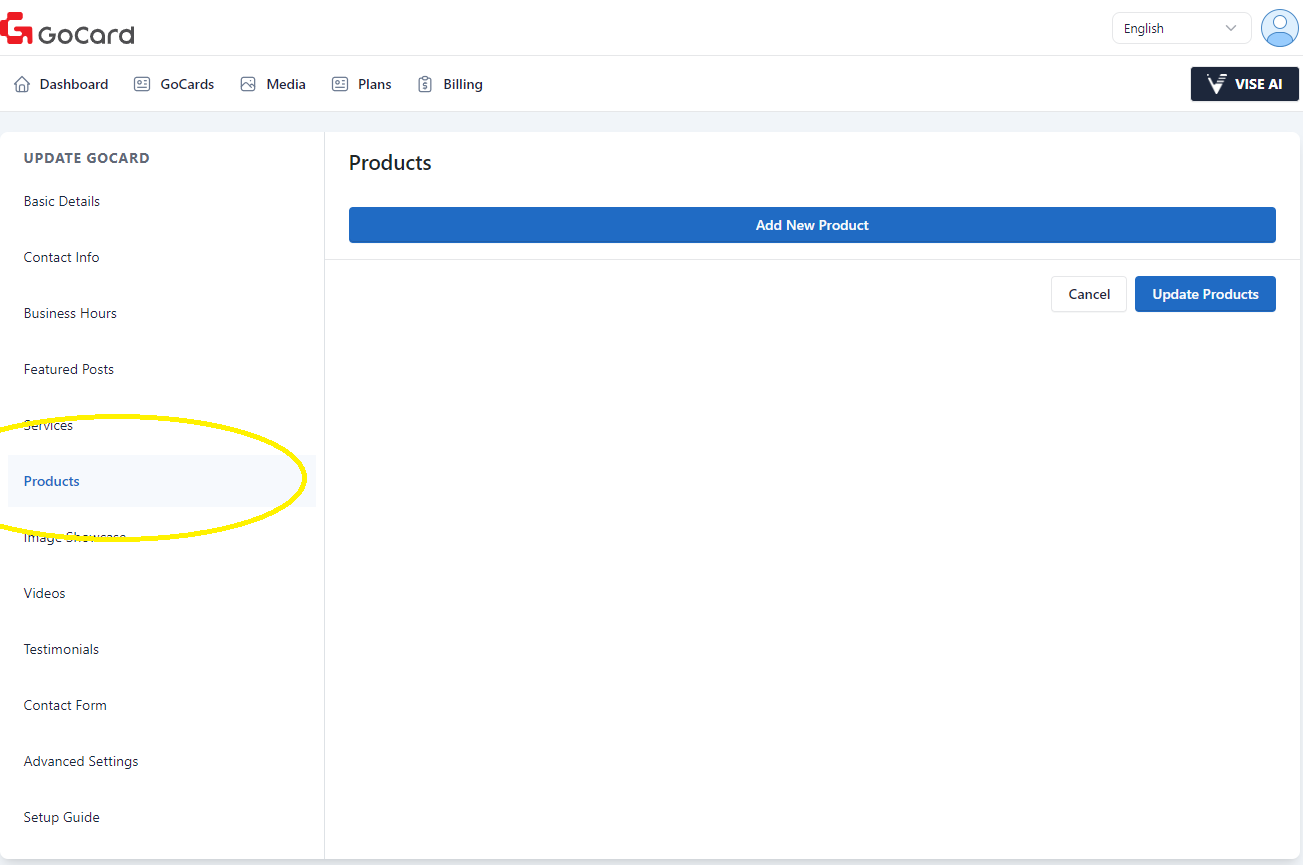
Step 4: Navigate to Products
Next, we will be adding a product. Click on the "Products" on the left bar.
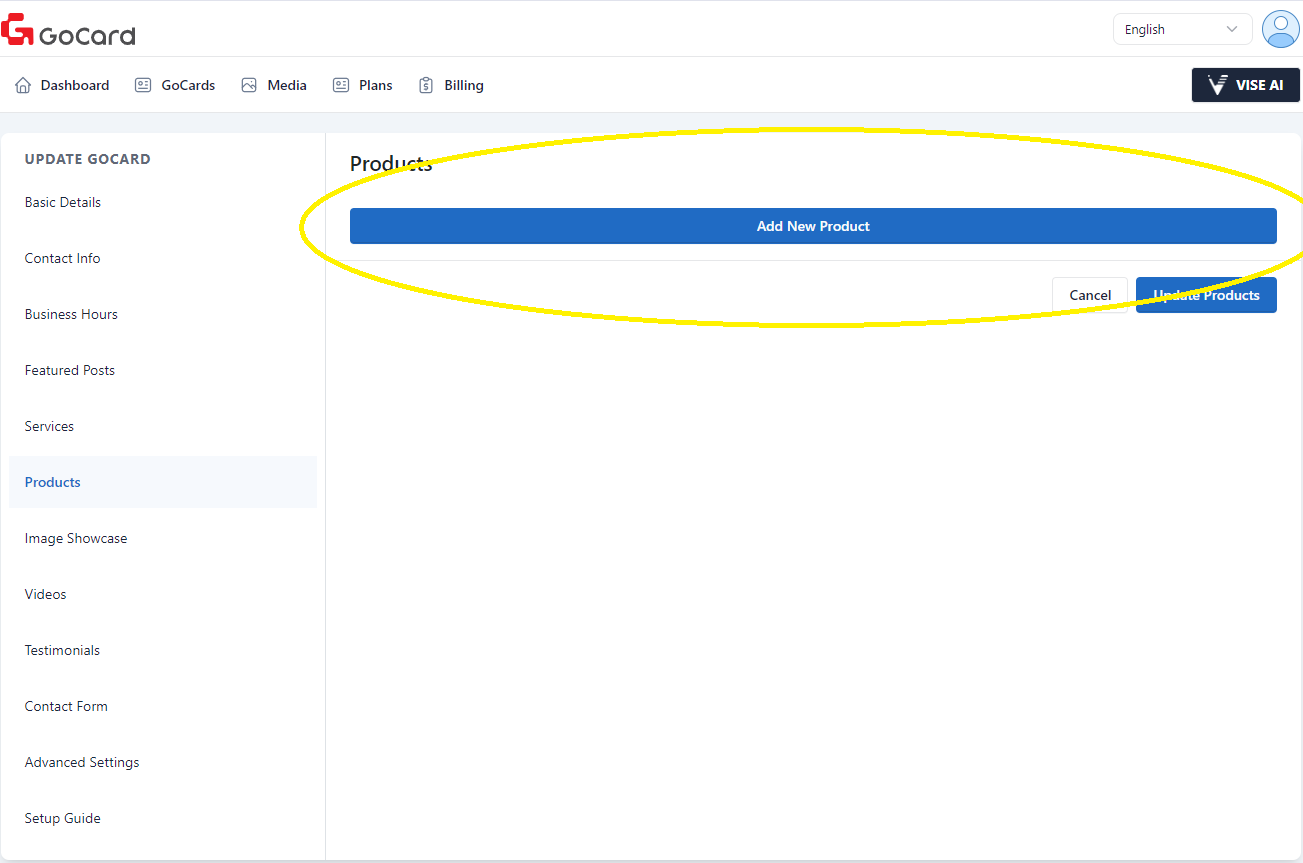
Step 5: Add a New Product
Click on "Add New Product".
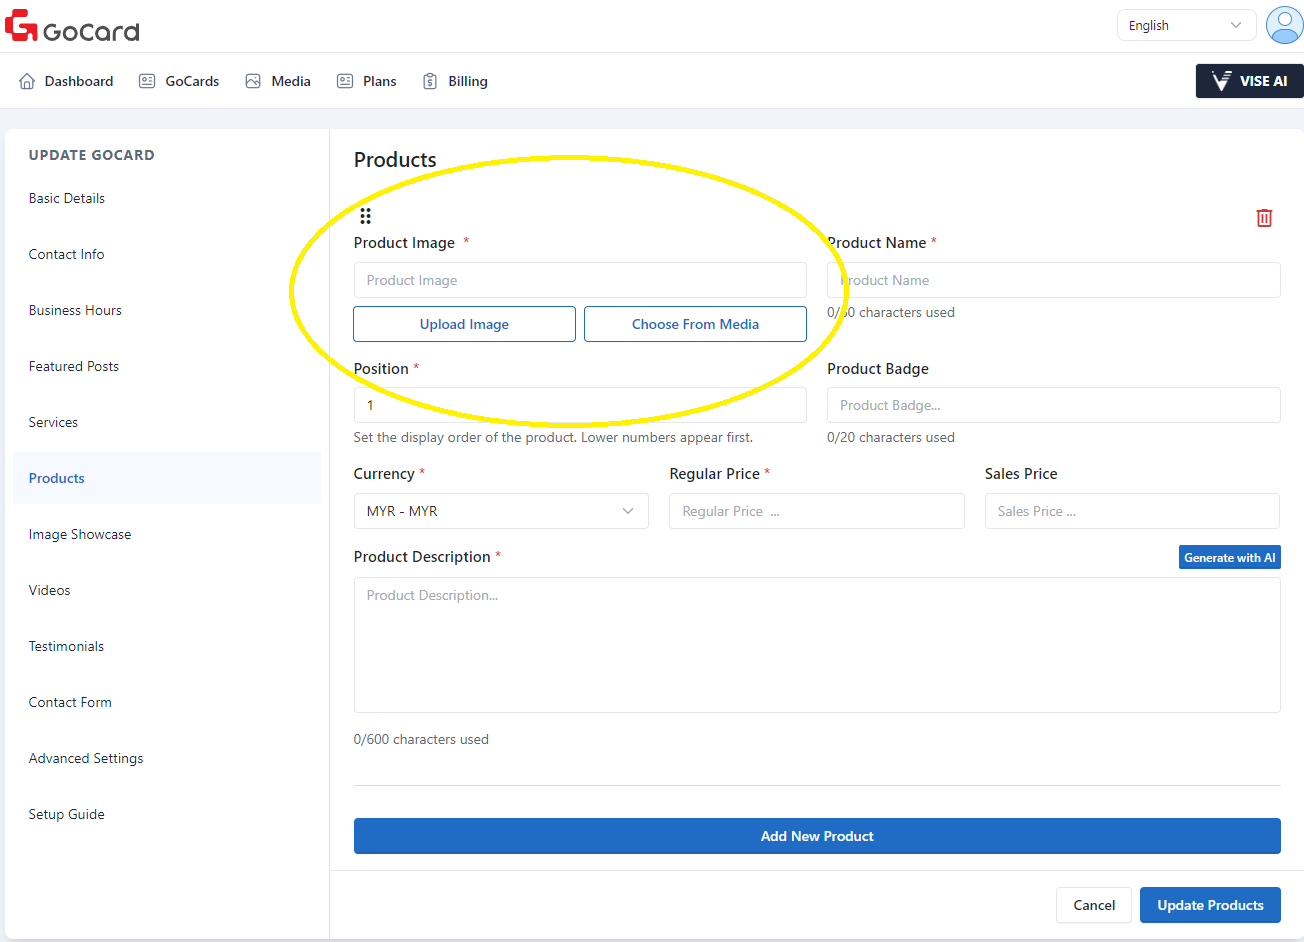
Step 6: Add a Product Image
You may click on “Upload Image” to upload an image from your device or click on “Choose From Media” to select from a collection of images that you have uploaded before.
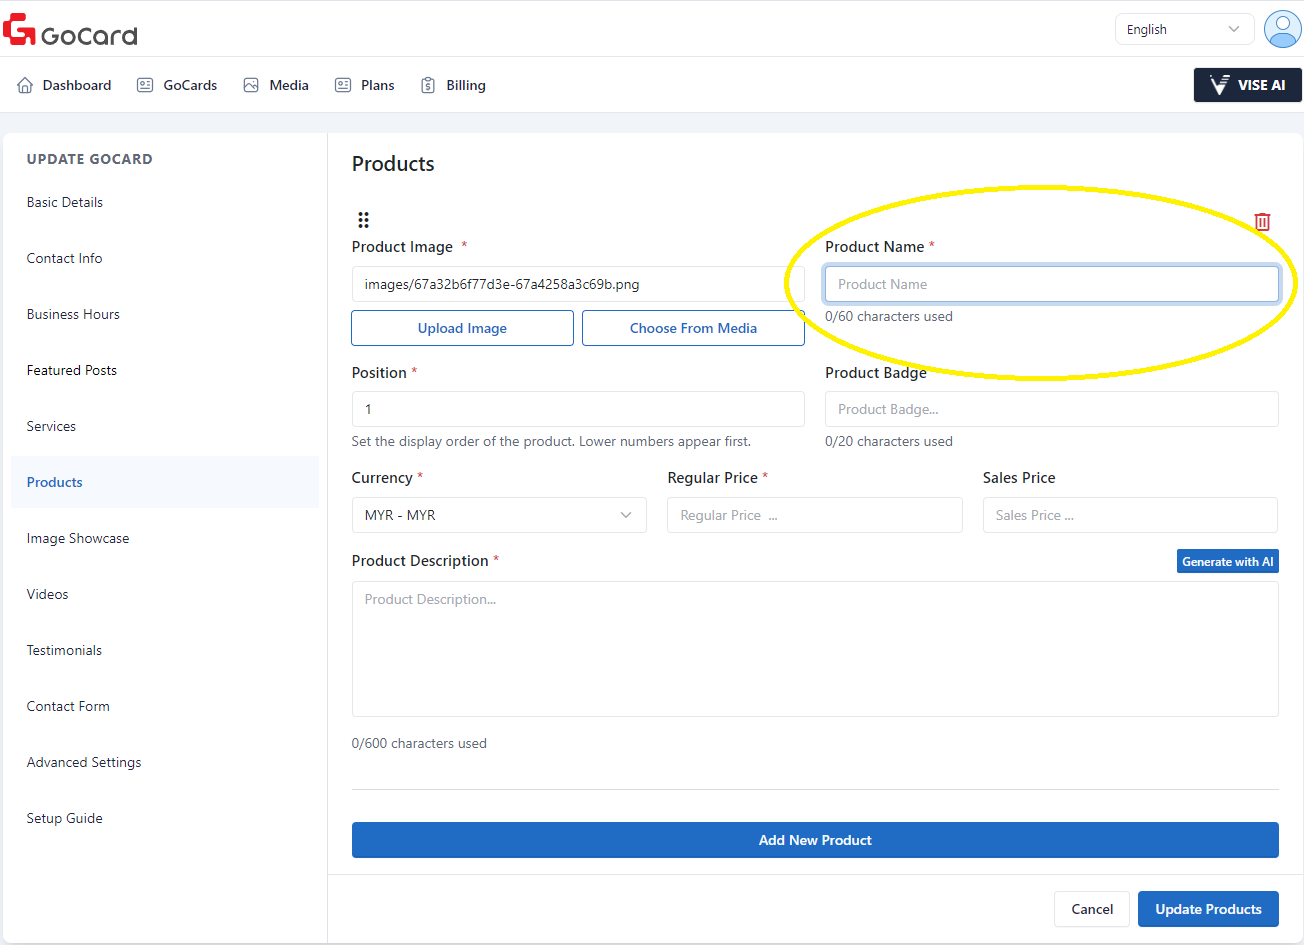
Step 7: Add Product Name
Enter your product name in "Product Name".
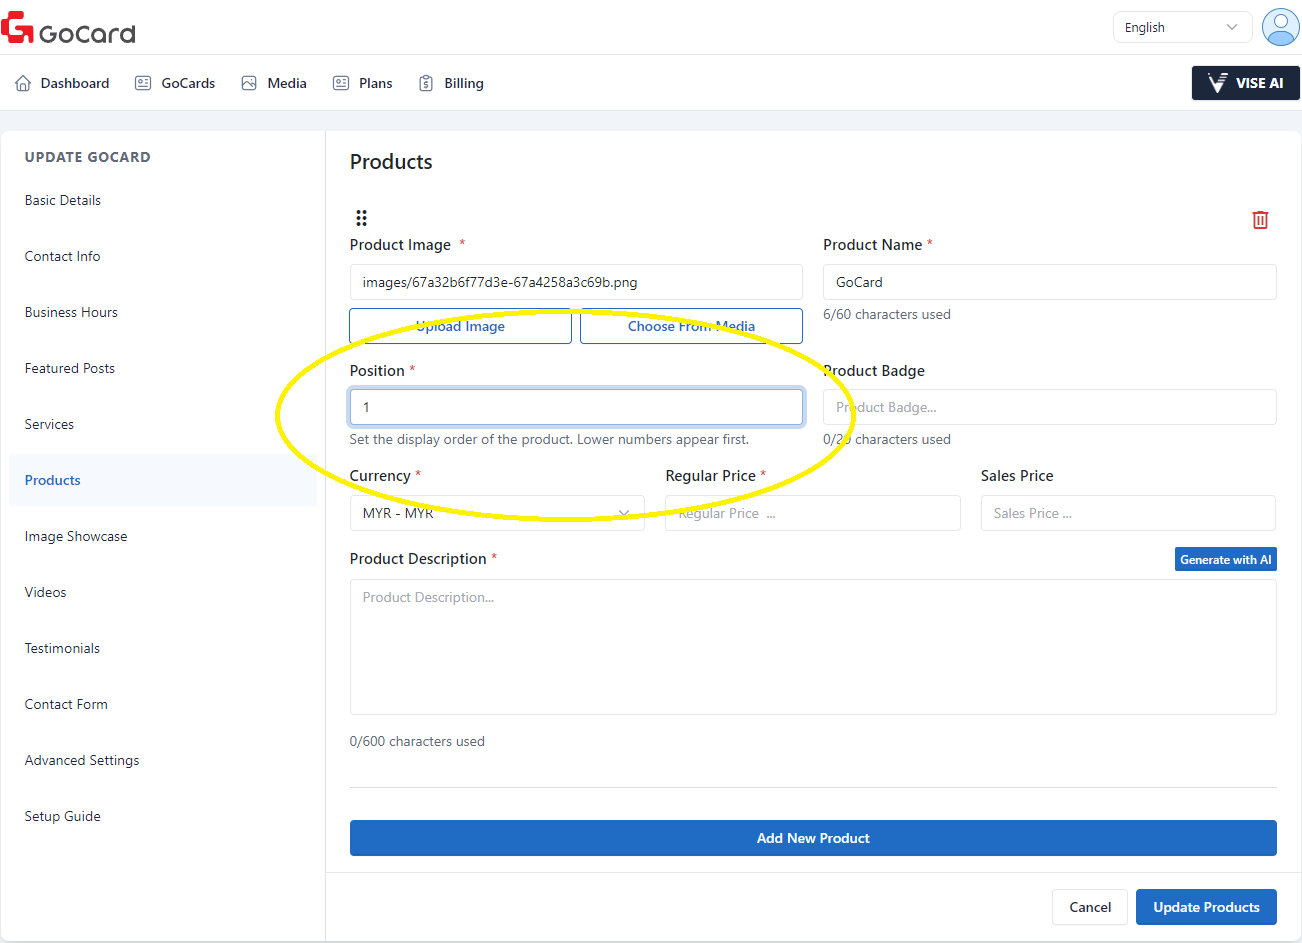
Step 8: Setting Position
You can change the sequence of which product to display first on your GoCard by entering a number in the "Position" field. A lower number will appear first.
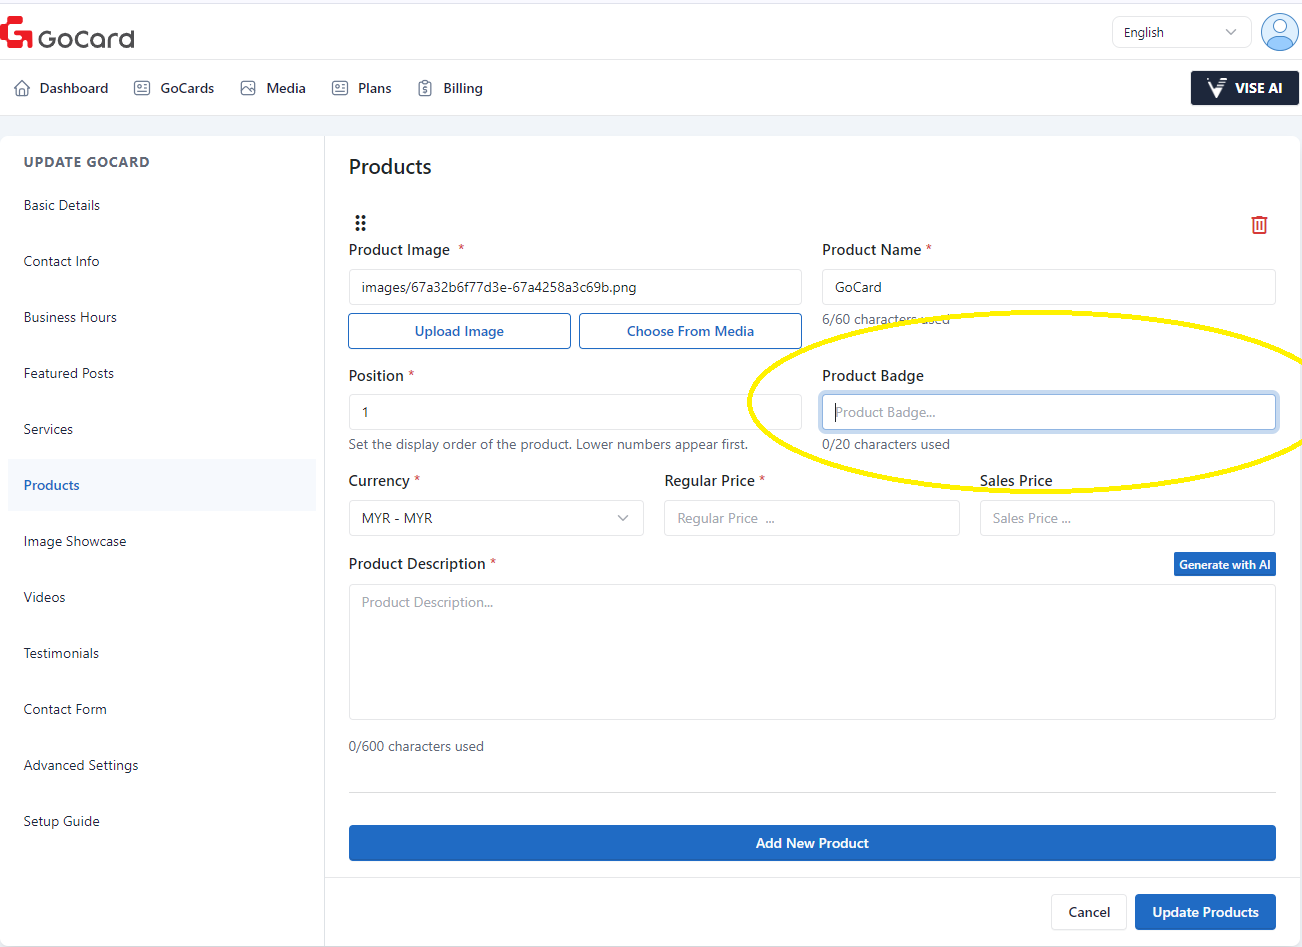
(Optional) Step 9: Add Product Badge
You can enter your "Product Badge".
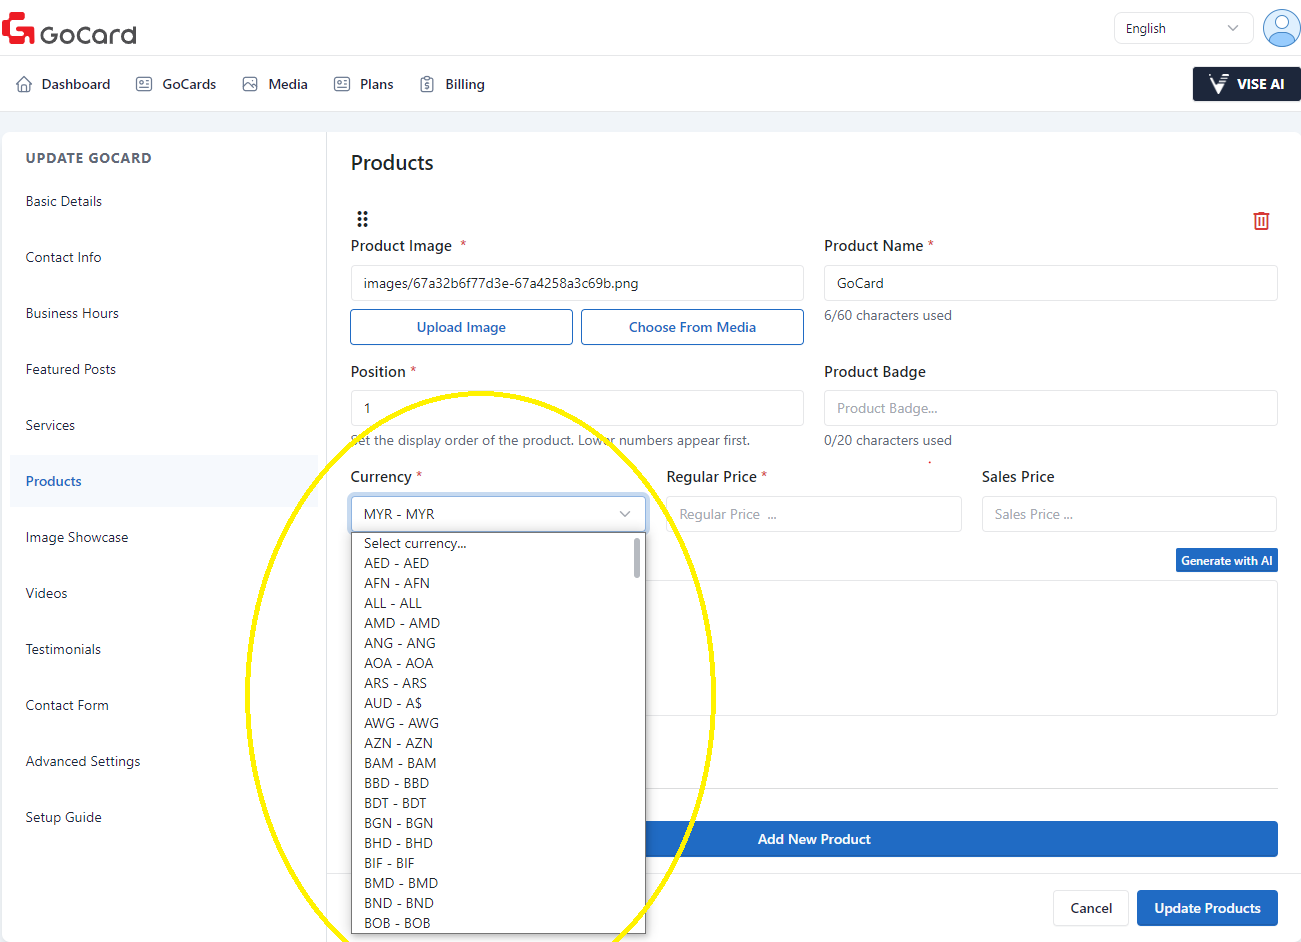
Step 10: Selecting Currency
Select the currency for your product in the "Currency" selection list.
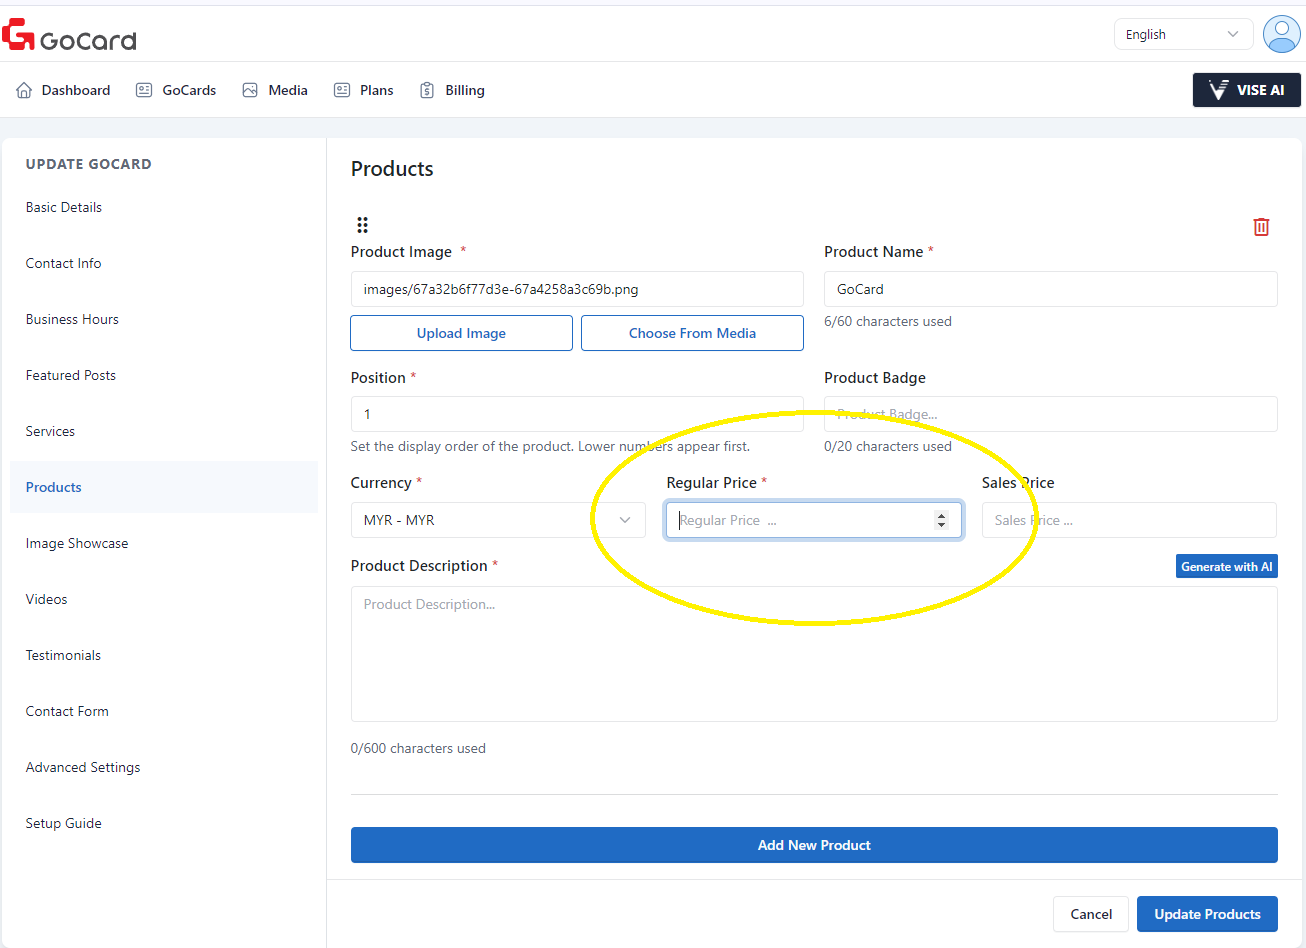
Step 11: Add Product Pricing
Add the pricing for your product under the "Regular Price (RM)" field.
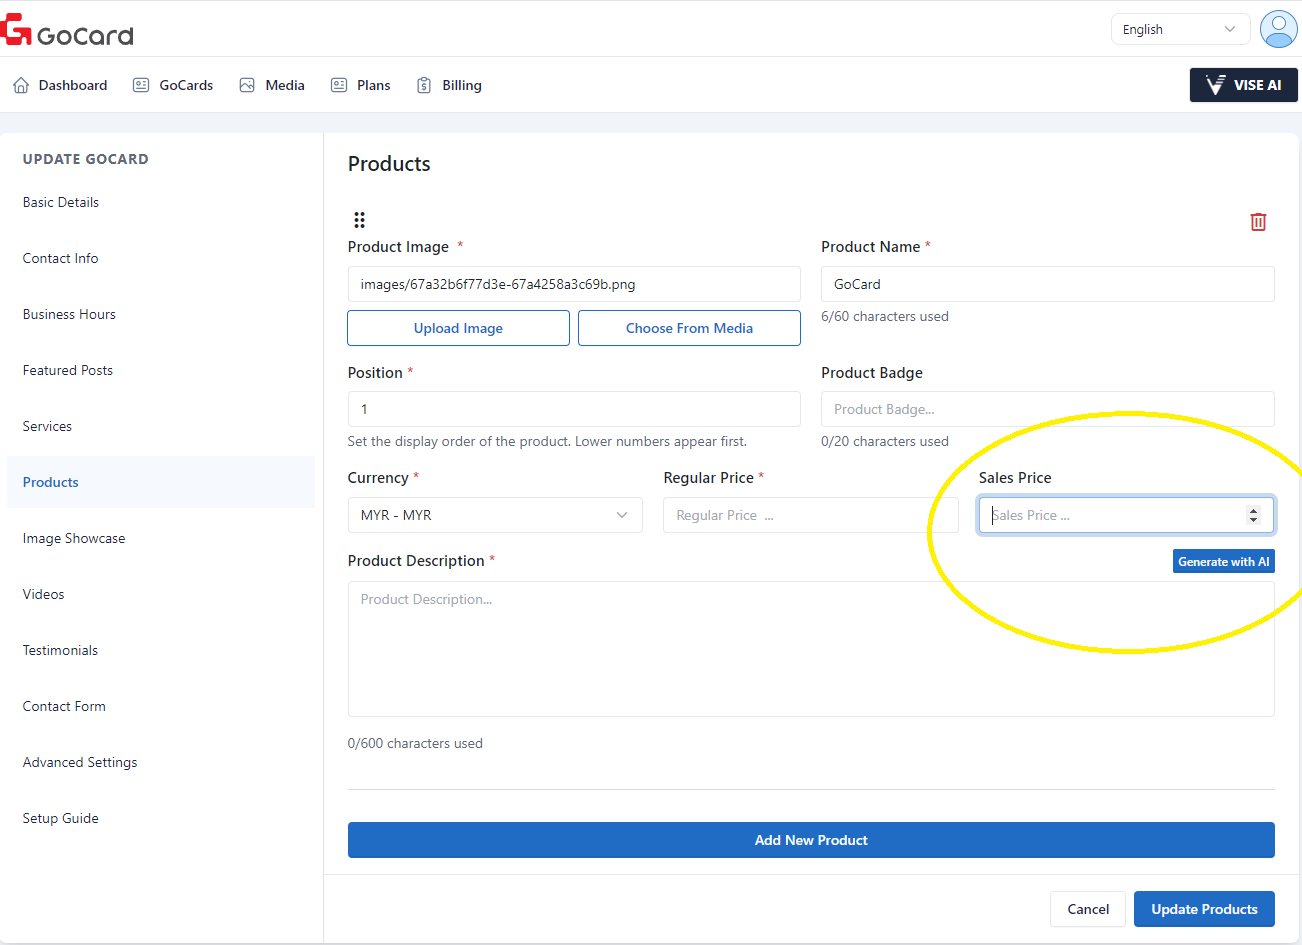
(optional) Step 12: Add Sales Pricing
If the product has a sales price, you can add it under the "Sales Price (RM)" field.
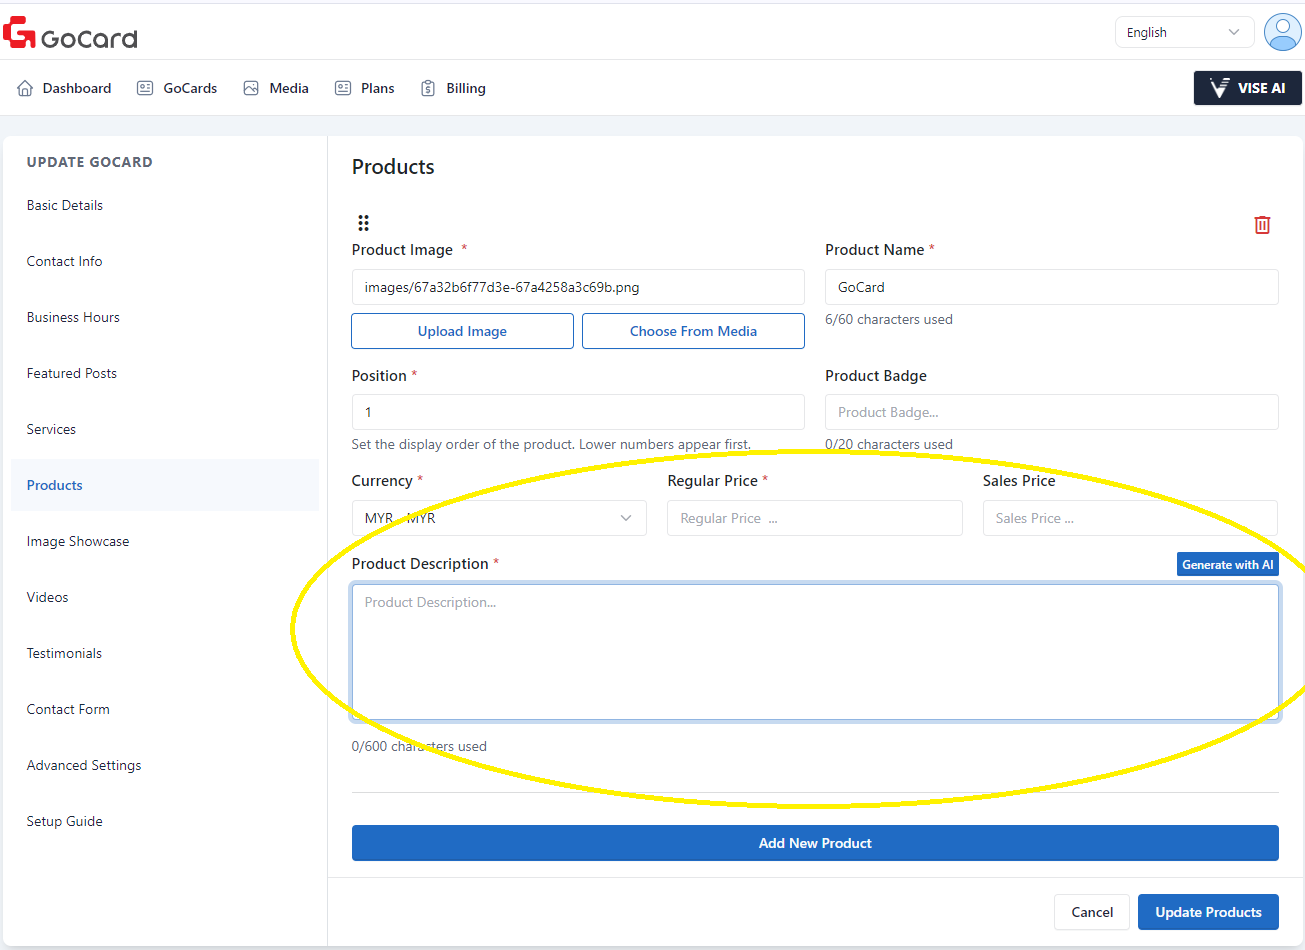
Step 13: Add Description
You can enter a product description in the "Product Description" field. Same as services, you have the option to generate the description easily by clicking on "Generating with AI". Check out this tutorial -> Generating Content Using VISE AI (Easy Mode) to learn how to use VISE AI!
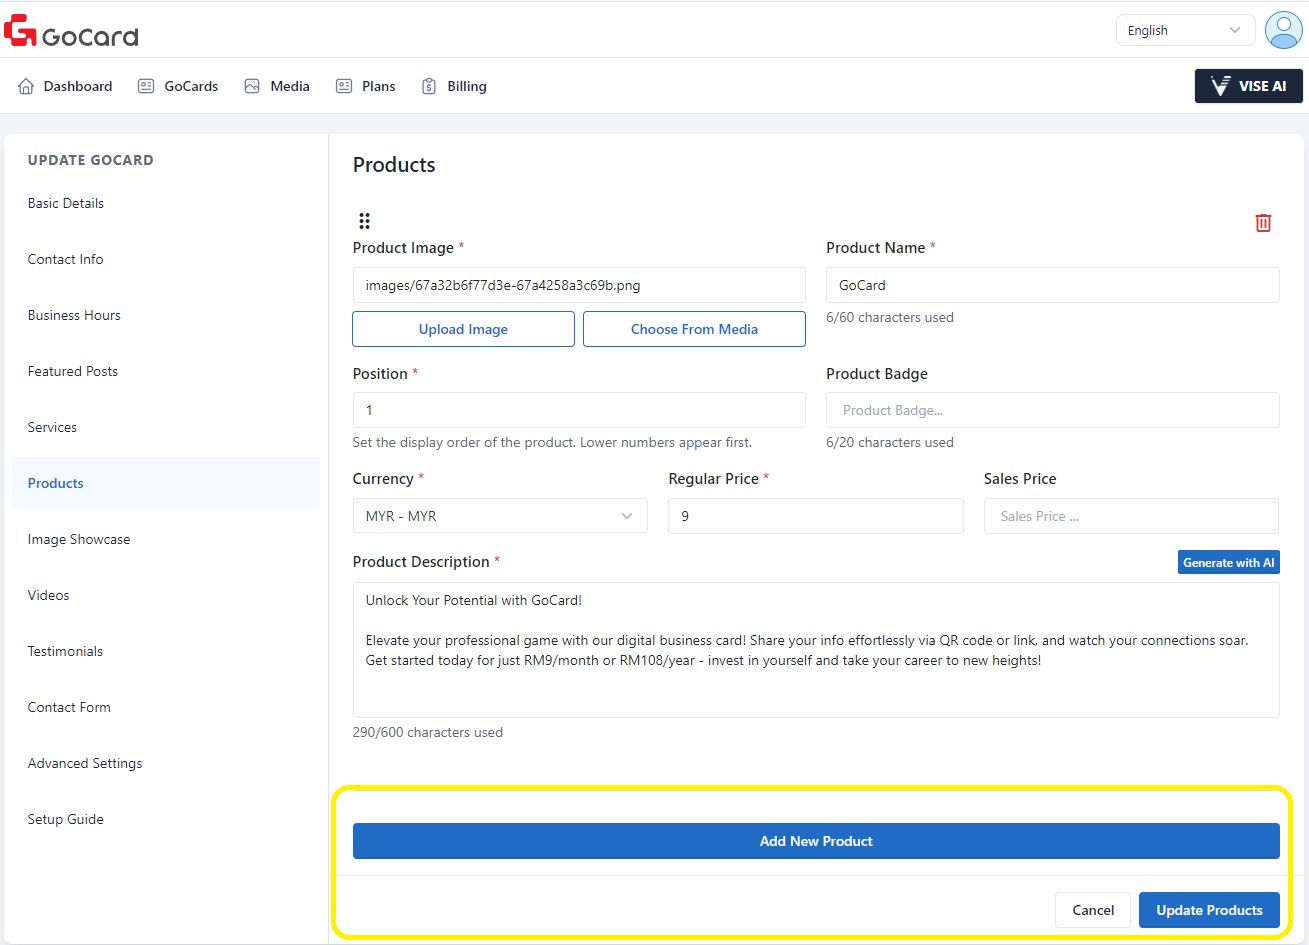
Step 14: Confirm Adding New Products
You can continue on adding more products by clicking "Add New Product". If you are done, simply click on "Update Products" to save the products you just added!
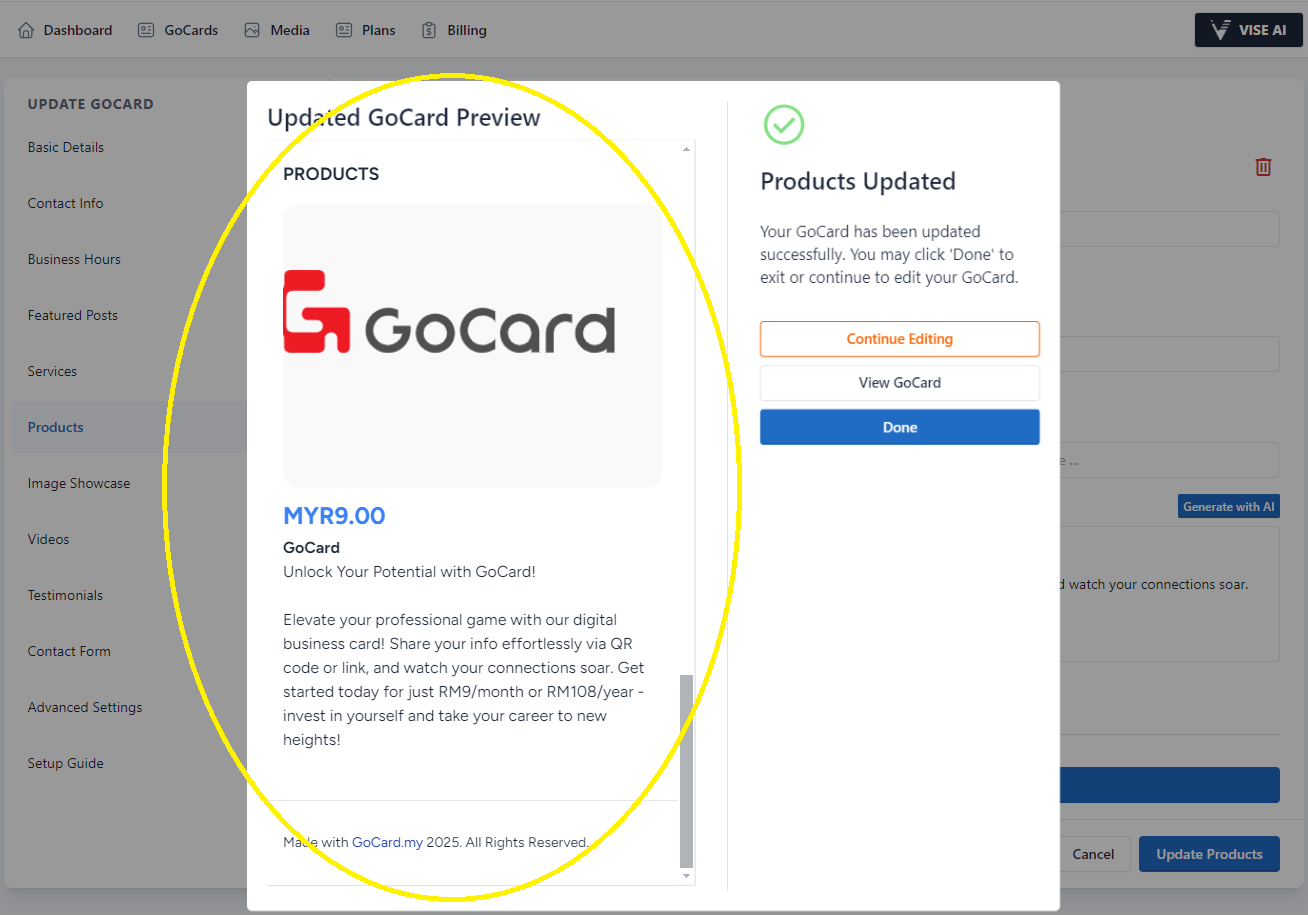
Step 15: Review the Updated GoCard
After updating, a preview will show you the updated GoCard. Simply click on "Done" to exit. Yay! Now you'll have your products displayed on your GoCard as well! Isn't that neat? Want to show off your business even more? Check out the next tutorial! Step 6 - Add Featured Posts