Step 4 - Add Services
Search:

Step 1: Getting Started
Visit GoCard.my logged in with your existing account and click on “Dashboard”.

Step 2: Navigate to “GoCards” Tab
Click on “GoCards” to browse all your GoCards created.

Step 3: Editing your GoCard
Click on “Edit” to edit your GoCard content.

Step 4: Navigate to Services
Click on “Services” on the left bar.

Step 5: Adding New Services
Click on “Add New Services” to add a new service to be displayed in your GoCard.

Step 6: Uploading Image
You may click on “Upload Image” to upload an image from your device or click on “Choose From Media” to select from a collection of images that you have uploaded before.

Step 7: Entering a Service Name
Type the name of the service you would like to share in your GoCard.

Step 8: Setting Position
You can change the sequence of which service to display first on your GoCard by entering a number in the "Position" field. A lower number will appear first.

Step 9: Creating Service Description
You can type in the description to describe your service. Alternatively, you can generate the description with VISE AI also by clicking on "Generate with AI". Check out this tutorial -> Generating Content Using VISE AI (Easy Mode) to learn how to use VISE AI!

Step 10: Adding More New Services
You may click on "Add New Service"to continue adding more services.

Step 11: Confirm Adding New Services
Click on "Update Services" to add the new service or click on "Cancel" to cancel the adding of new services.

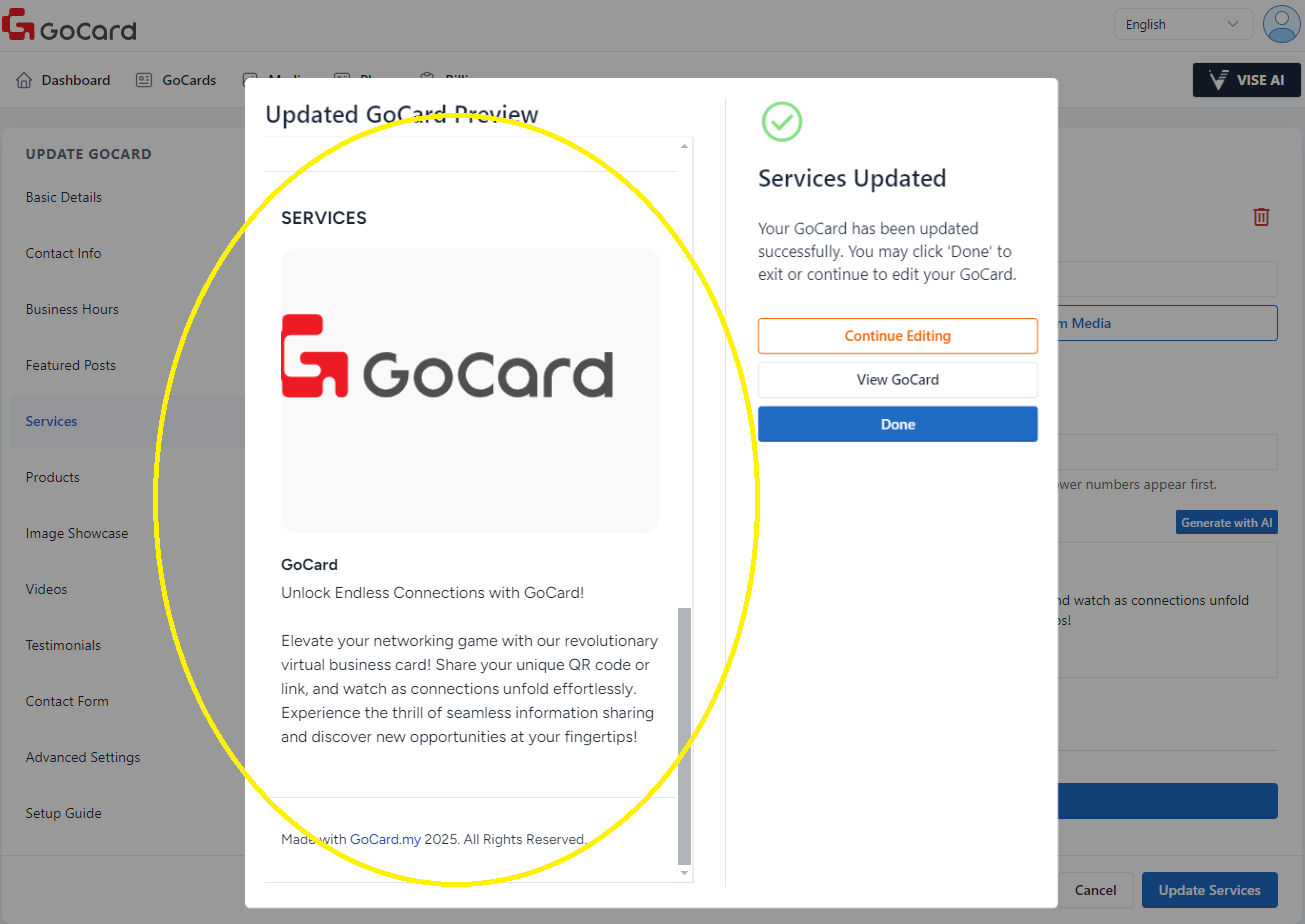
Step 12: Review the Updated GoCard
After updating, a preview of your GoCard will be displayed. You can review the services you just updated and decide to "Continue Editing" or "Done". That's it for adding services! Now let's check out Step 5 - Add Products!