Tutorial - Booking Appointment
Search:

Step 1: Getting Started
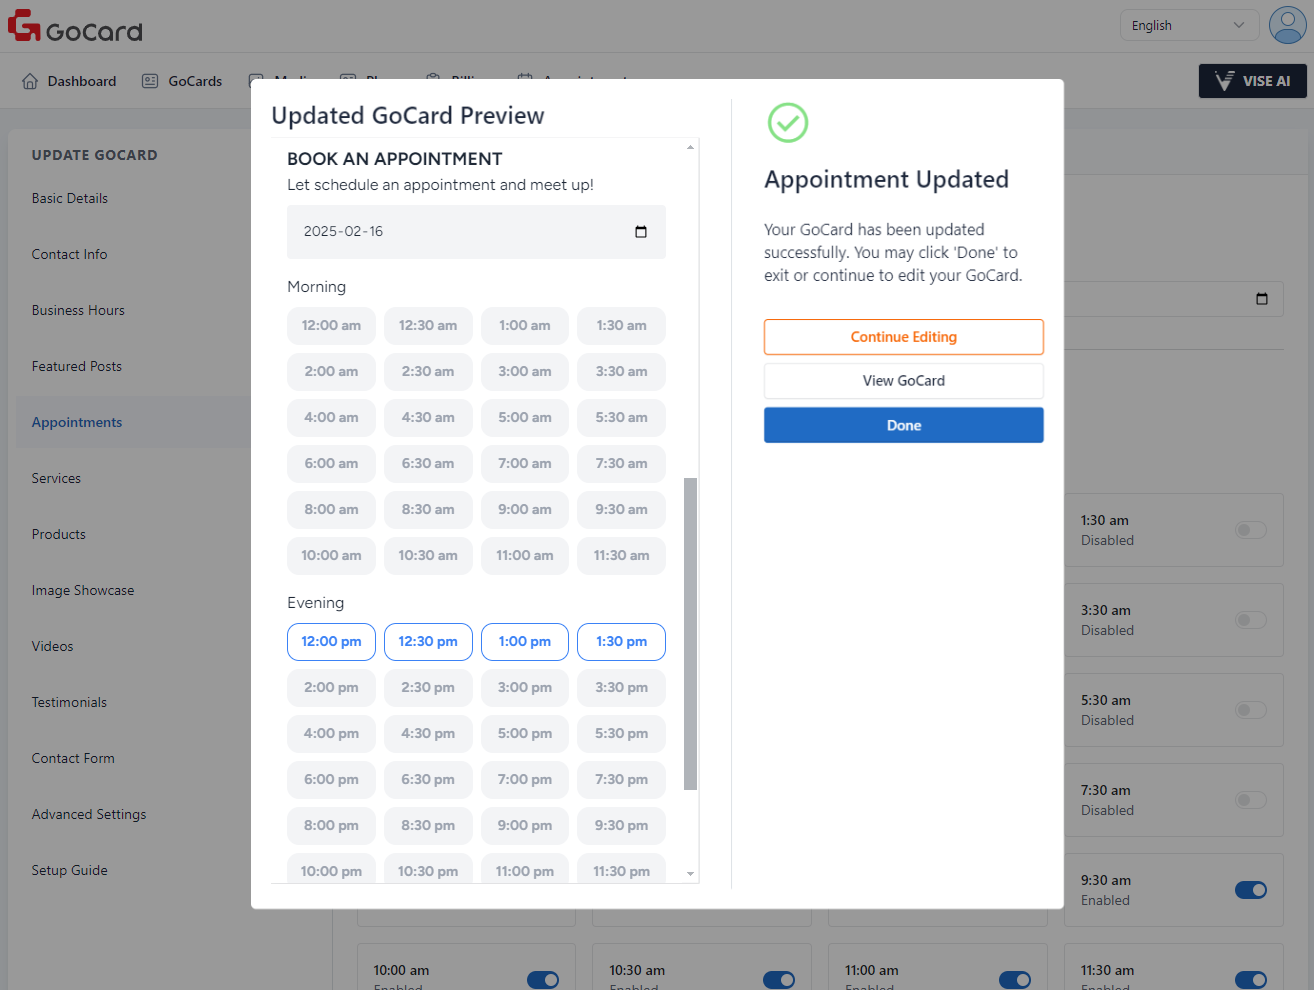
Welcome! In this tutorial, we will guide you step-by-step on how to book an appointment using GoCard. This is how a GoCard appointment section will look like to others.

Step 2: Select a Date to View Appointment availability
Select a date here to check if the selected day is available for an appointment.

Step 3: Look for Available Time Slot
The time slots in blue are available, while the greyed-out time slots are not available for booking.

Step 4: Book a Time Slot
Click on an available time slot to book. You will need to fill in your "Name", "Email", "Mobile Number", and "Discussion Subject".

Step 5: Send the Appointment Request
Click on the "Send" button to submit the appointment request to the GoCard owner.

Step 6: Check for Success Message
After successfully submitting the appointment request, you will see this success message with an appointment code. Additionally, you will receive a success email as well.

Step 7: Check Appointment Status
You can check your appointment status from time to time by simply going to GoCard.my and clicking on "Check Appointment Status".

Step 8: Enter Your Appointment Code
Enter the appointment code you received and click on "Check".

Step 9: Check Appointment Status
Here is the status of your appointment, it will need to wait for the GoCard owner to either accept or reject your appointment. The status shown here indicates that your appointment is currently pending.

Step 10: Differentiate the Types of Status (Rejected)
This is an example of a rejected appointment status.

Step 10: Differentiate the Types of Status (Accepted)
This is an example of an accepted appointment status. After accepting, you can add this appointment to Google Calendar or Apple Calendar. You will receive an email reminder as well. Want to learn how to accept and reject appointments? Here it is -> Accepting/Rejecting Appointment tutorial!